

Installation Steps:
The vertical “U” profiles are equipped with clips to facilitate the installation process. To make adjustment easier, it is preferable that the clips are slightly bent inward before the profile is fixed to the post.
To install the vertical “U” profile, start the installation by determining the exact position. Use a 10 mm drill bit during the installation. When fixing to the wall/post, considering the width of the profile, it is recommended to drill holes in a zigzag pattern with 30-40 cm spacing.
To achieve a secure fit during installation, place dowels of the appropriate size in all drilled holes and ensure that the dowels fit tightly into the holes. Use a cordless screwdriver to fasten the profile by screwing through the drilled and dowelled holes.
Repeat the same steps for the second vertical “U” profile. Be sure that the profiles are positioned correctly opposite each other with precise measurements. Ensure that the upper lines of both vertical “U” profiles are horizontally aligned.
Both vertical profiles are equipped with holes to facilitate the next stages of the installation.
It is important to hold the profiles tightly during the installation to prevent any shifting or misalignment of their positions.
If necessary, you can adjust the profile length using sheet metal scissors.
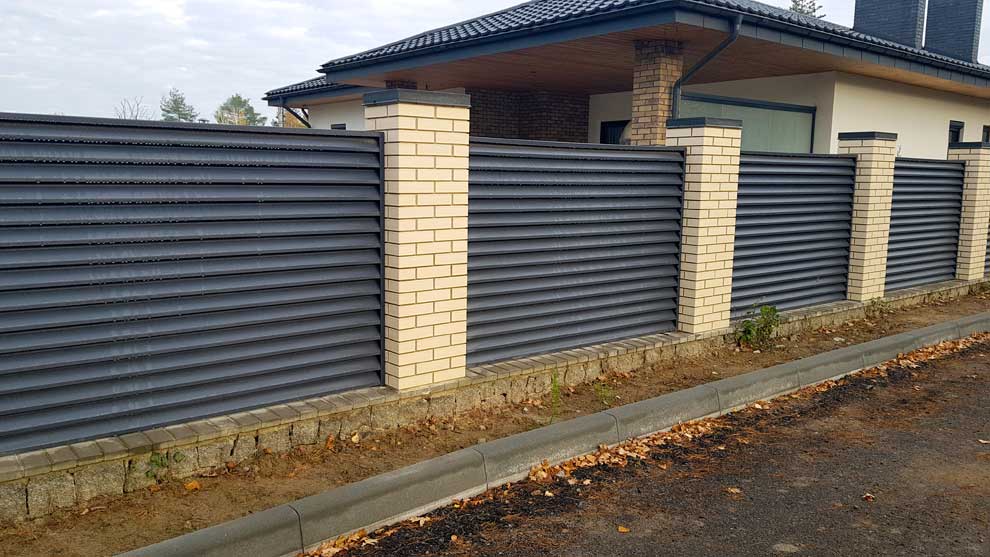
The installation of the fence panels should be carried out from bottom to top.
The vertical “U” profiles on both sides are equipped with clips to support and secure the fence panels.
Clip Adjustment: Bend both lower clips of each vertical profile at a precise 90-degree angle. The clips will provide the correct positioning and support for the fence panels (fence profiles).
Use a drill with a 4.5 mm drill bit to drill into the existing holes of the vertical “U” profiles to attach the shutter fence profile. Ensure that the shutter fence profile is horizontally aligned and positioned correctly.
Align the fixing holes of the shutter profiles with the “U” profiles and secure them with rivets to the two fixing bridges (left + right) behind the panel.
Position the horizontal profile over the top shutter profile so that it covers the ends of the vertical “U” profiles and mount it.
Secure the horizontal shutter profiles to the vertical “U” profiles and reinforcement profiles with pop rivets.
Installation Tips:
If the shutter fence panels have stones, wood, or digital prints, don't worry about how to mount them correctly! There is no need to combine different types of fence panels to achieve a cohesive look. You can mount all Panelix Pyramid fence models randomly. At the end of the installation, your garden and fence will always look great.
During fence installation, it is crucial to distribute the shutter fence profiles correctly between the vertical “U” profiles. Starting the installation without taking into account the vertical and horizontal measurements, positioning, and markings will result in longer installation times and material waste. Proper measurement and calculation will guarantee you a perfect fence installation.